

A Simple Guide to Fixing Cracks in Your Concrete Surface
A step-by-step guide to fixing cracks in your home's exterior
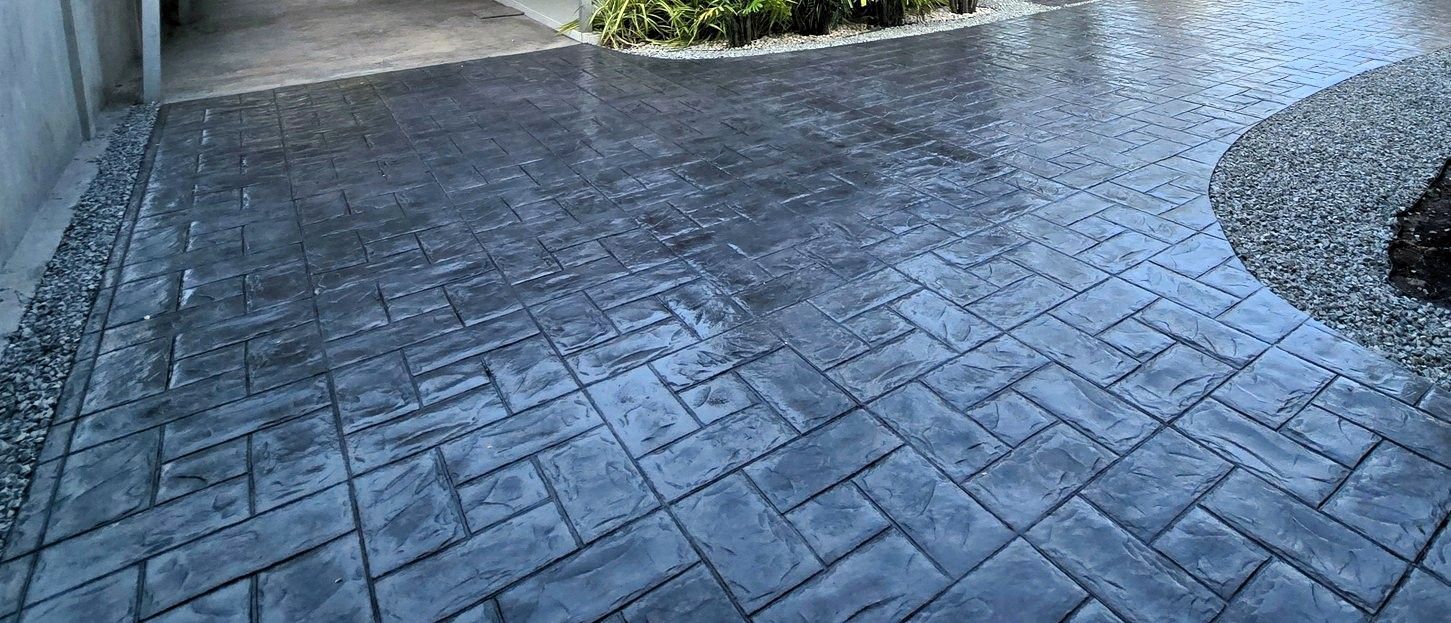
Owning a home comes with its fair share of responsibilities, from mowing the lawn to painting the walls. But what about the concrete outside? It's easy to overlook until cracks start appearing. Don't fret! Cracks in your concrete don't have to be a source of stress. With a little know-how and some elbow grease, you can tackle those cracks head-on and restore your concrete surfaces to their former glory. So, let's roll up our sleeves and delve into the process of fixing those pesky cracks, ensuring your home's exterior remains pristine and inviting for years to come!
Step One: Identifying the Crack
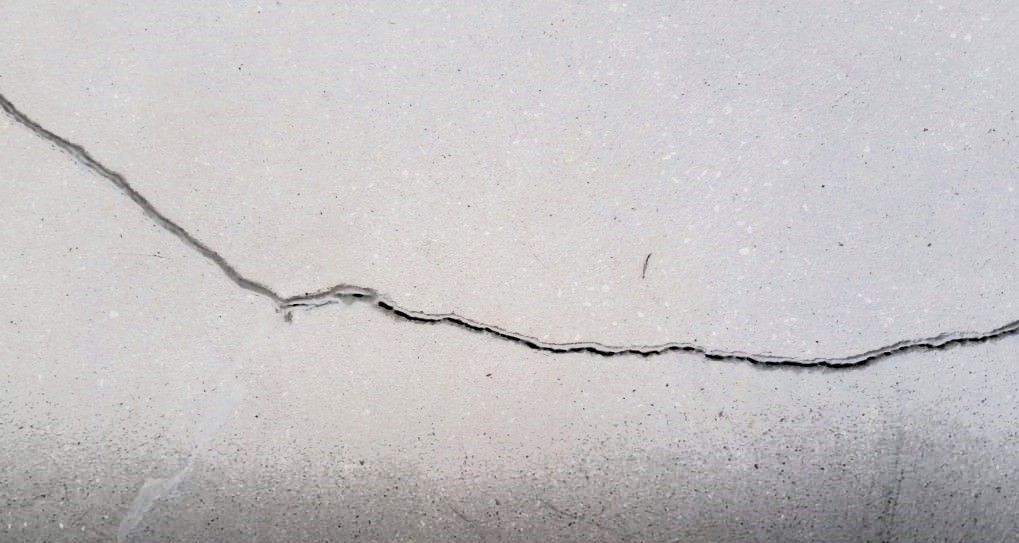
First off, let's figure out what kind of crack we're dealing with. Is it narrow, wide, or expanding? Narrow cracks, usually less than a quarter-inch wide, are pretty straightforward to fix with a basic concrete patching compound. However, if it's wider or getting bigger, it might need a bit more attention. But don't worry, we've got solutions for every kind!
Step Two: Getting the Area Clean
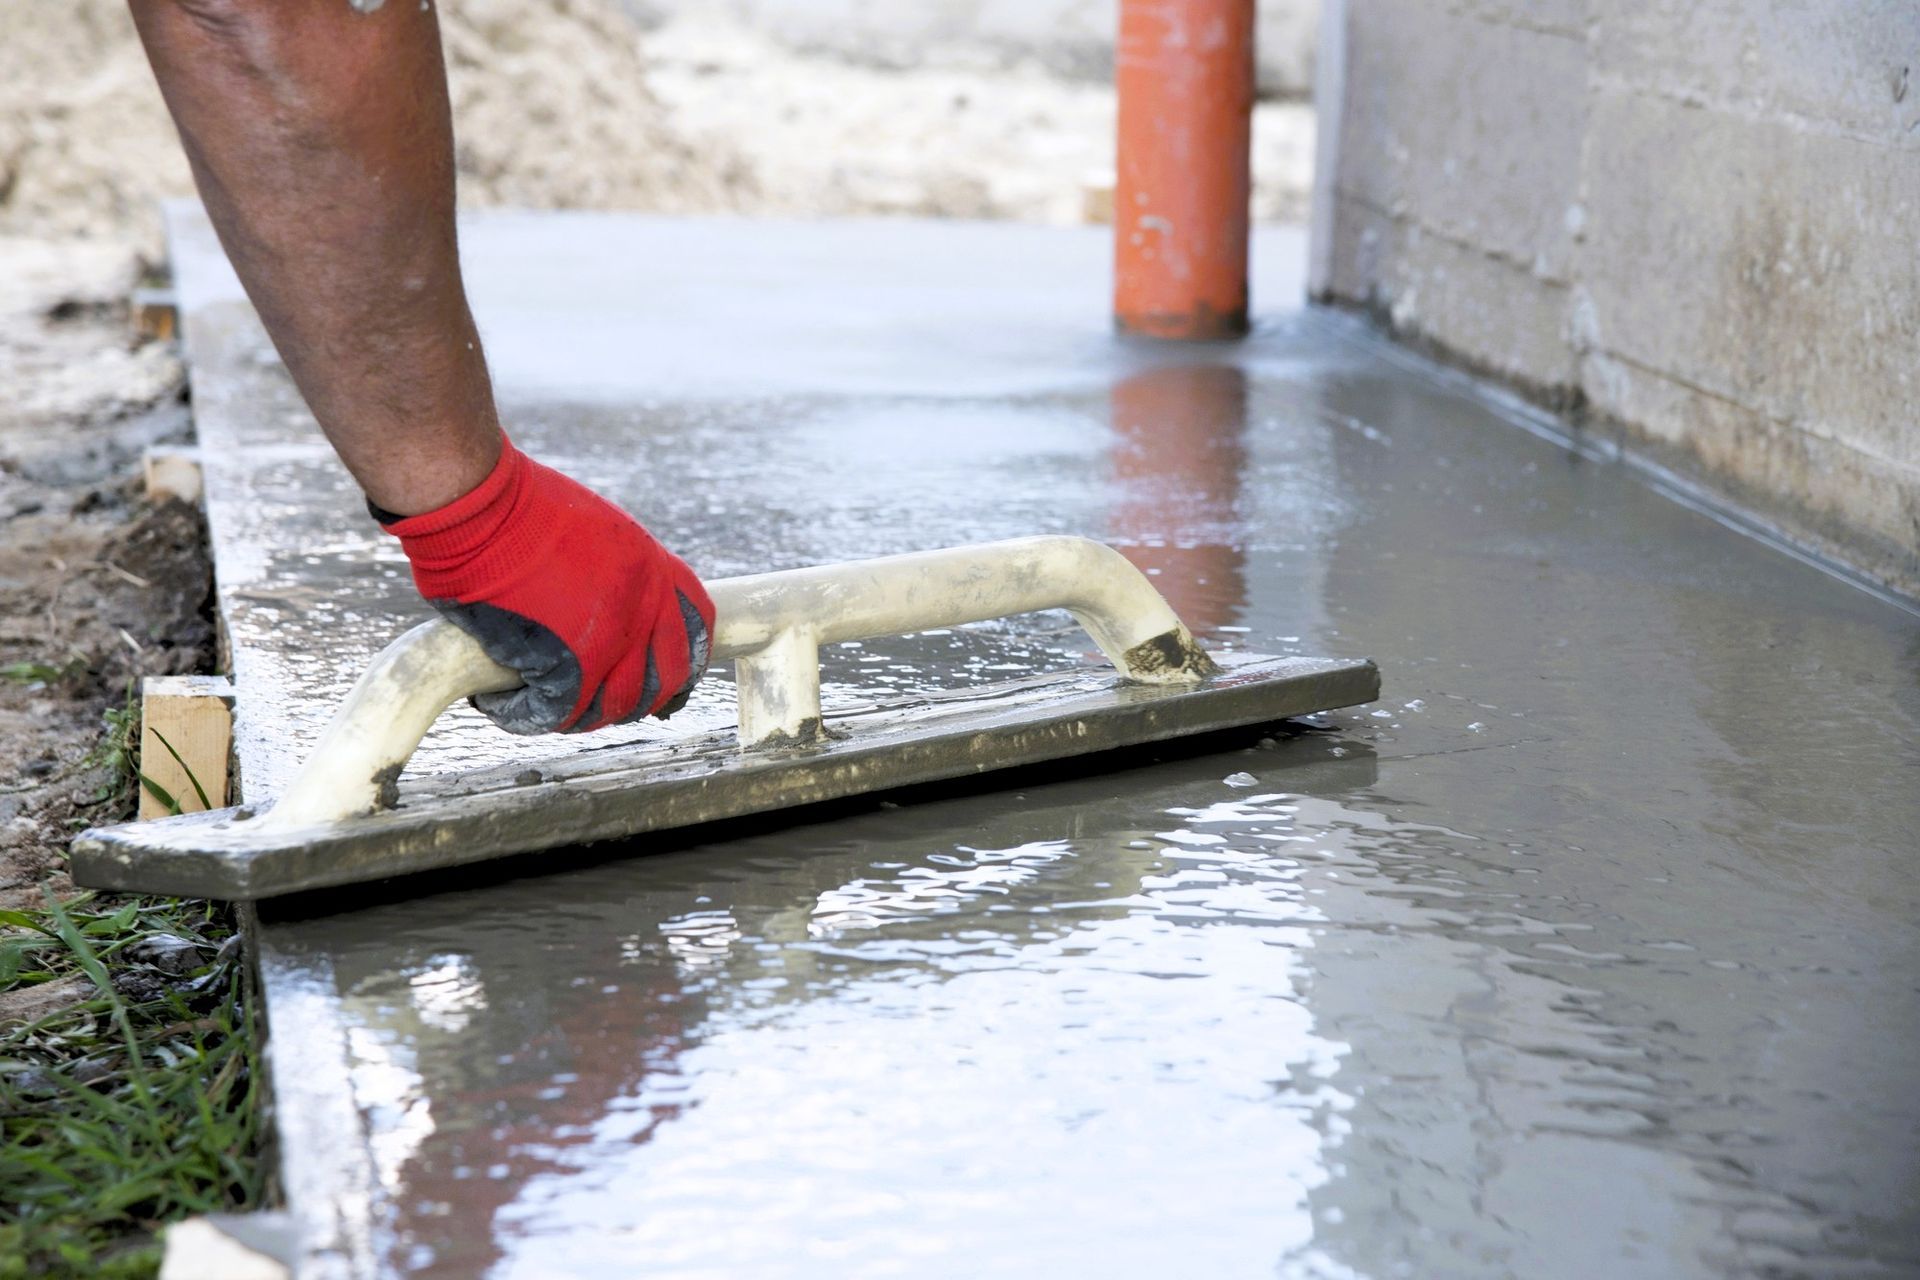
Before we start any repairs, let's make sure the area is squeaky clean. Grab a pressure washer and some detergent to wash away any dirt and debris that might have accumulated. A clean surface ensures that our patch will stick better and last longer. Plus, there's something oddly satisfying about seeing all that grime wash away!
Step Three: Filling Up the Crack
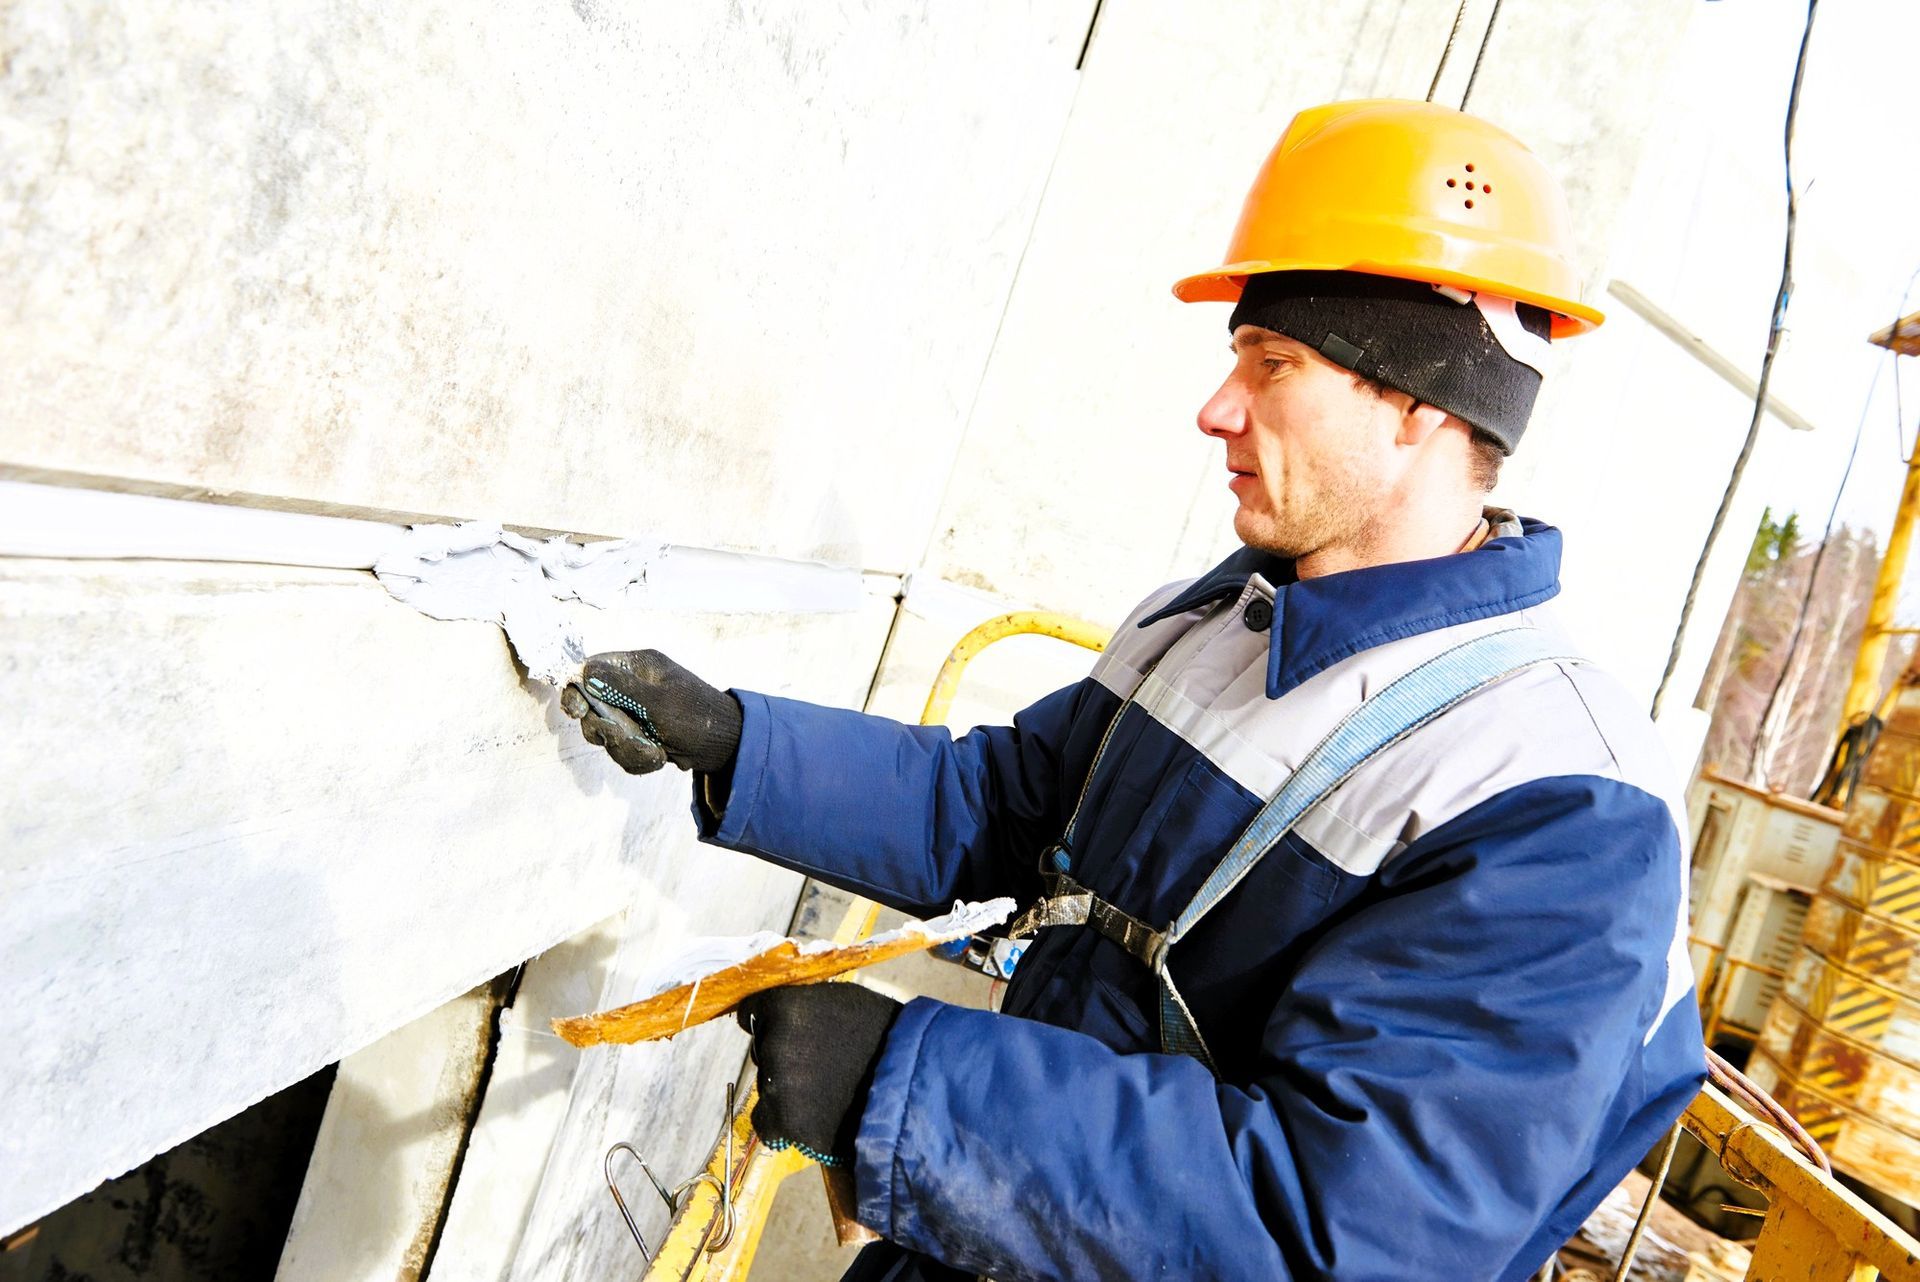
Now it's time to fill in that crack. Take your cement-based patching compound and a putty trowel. Spread the compound over the crack, ensuring it fills up every nook and cranny. Allow it to dry completely before proceeding to the next step. This step is like giving your concrete a little band-aid – it'll heal right up!
Step Four: Smoothing Things Out
Once the patch is dry, it's time to smooth things out. Grab some sandpaper or a wire brush and gently smooth out the patch until it's level with the rest of the surface. You want it to blend right in, like it was never there. Take your time with this step and enjoy the process – it's oddly satisfying!
Step Five: Sealing the Deal
To ensure that your patch lasts for years to come, it's essential to seal it up. Apply a sealant to the patched area to protect it from moisture and weather damage. This extra layer of protection will help keep your repair intact and looking good as new.
Step Six: Preventing Future Cracks
Now that you've patched up that crack like a pro, let's make sure it doesn't happen again. Consider applying a protective coating to your concrete surface. There are a few options out there, like water-based acrylic or epoxy coatings. These coatings will help keep your concrete strong and crack-free for years to come, giving you peace of mind.
Fixing cracks in your concrete doesn't have to be a headache. By following these simple steps, you can patch up those cracks and keep your home looking its best. And if you ever feel overwhelmed, don't hesitate to reach out to professionals for a helping hand. With a little care and attention, your concrete will stay strong and sturdy for years to come, making your home a welcoming and beautiful place to be.
Ready to tackle those cracks or need some expert guidance?
Contact Grand Rapids Concrete Pros today for professional assistance and ensure your concrete surfaces are in top-notch condition!
You might also like
Grand Rapids Concrete Pros Blog