Expert Tips on How to Build a Better Concrete Sidewalk
Ensure safety and beauty with a well-maintained concrete sidewalk.

A concrete sidewalk not only adds curb appeal to your home but also serves as a satisfying do-it-yourself project, especially for beginners venturing into the world of concrete work. However, to ensure a long-lasting and sturdy pathway, it’s crucial to follow expert advice from professionals in the field.
In this article, we will explore ten valuable tips shared by concrete experts to help you form edges, level the surface, achieve a smooth finish, properly cure the concrete, and avoid potential pitfalls along the way.
Building Strong Foundations
To prevent nightmares such as bulging or collapsing forms, it’s essential to construct a robust framework. Utilize 1-1/2-inch thick boards, such as 2x4s or 2x6s, and place stakes no more than 3 feet apart. If the foundations extend below the ground, pack soil against them, and for aboveground forms, space the stakes 16 inches apart.
Forming Concrete Sidewalk Curves
For forming curves, consider using fiber cement board siding, which is flexible and cost-effective. However, it’s best to reinforce the hardboard framework with adequate stake placement and soil packing to prevent bulging. Start by building one side and use a gauge board to position the other side accurately. In case of wet weather, be prepared to cover the forms to maintain their shape.
Keeping the Stakes Below the Forms
Protruding stakes can obstruct the screed board, making the concrete leveling process more challenging. Take a few minutes to cut off any stakes that extend above the forms. Additionally, ensure the tops of the forms are not near ground level to avoid the screed board dragging against the ground.
Establishing a Solid Base
A firm and well-drained base is vital to prevent cracks in your concrete sidewalk. Consider compacting the soil and adding a base material like gravel. Consult with a local building inspector to determine the best base for your specific climate and soil conditions. In some cases, sandy soil may eliminate the need for gravel.
Removing Air Pockets
Trapped air pockets against the forms can result in voids in vertical surfaces. While this may not be a significant concern for sidewalks and driveways, it can be problematic for aboveground structures like steps or curbs. Use a 2x4 to “plunge” along the forms, followed by tapping the sides with a hammer to remove air bubbles.
Avoiding Too Much Water in the Mix
When concrete is delivered, the water-to-concrete ratio is carefully measured at the plant. Avoid the temptation to add extra water unless the concrete is too dry to flow down the chute. Additional water weakens the mix, compromising its strength. Conduct a simple test by plowing a groove in the concrete mound to determine the correct consistency.
Timely Floating of the Concrete
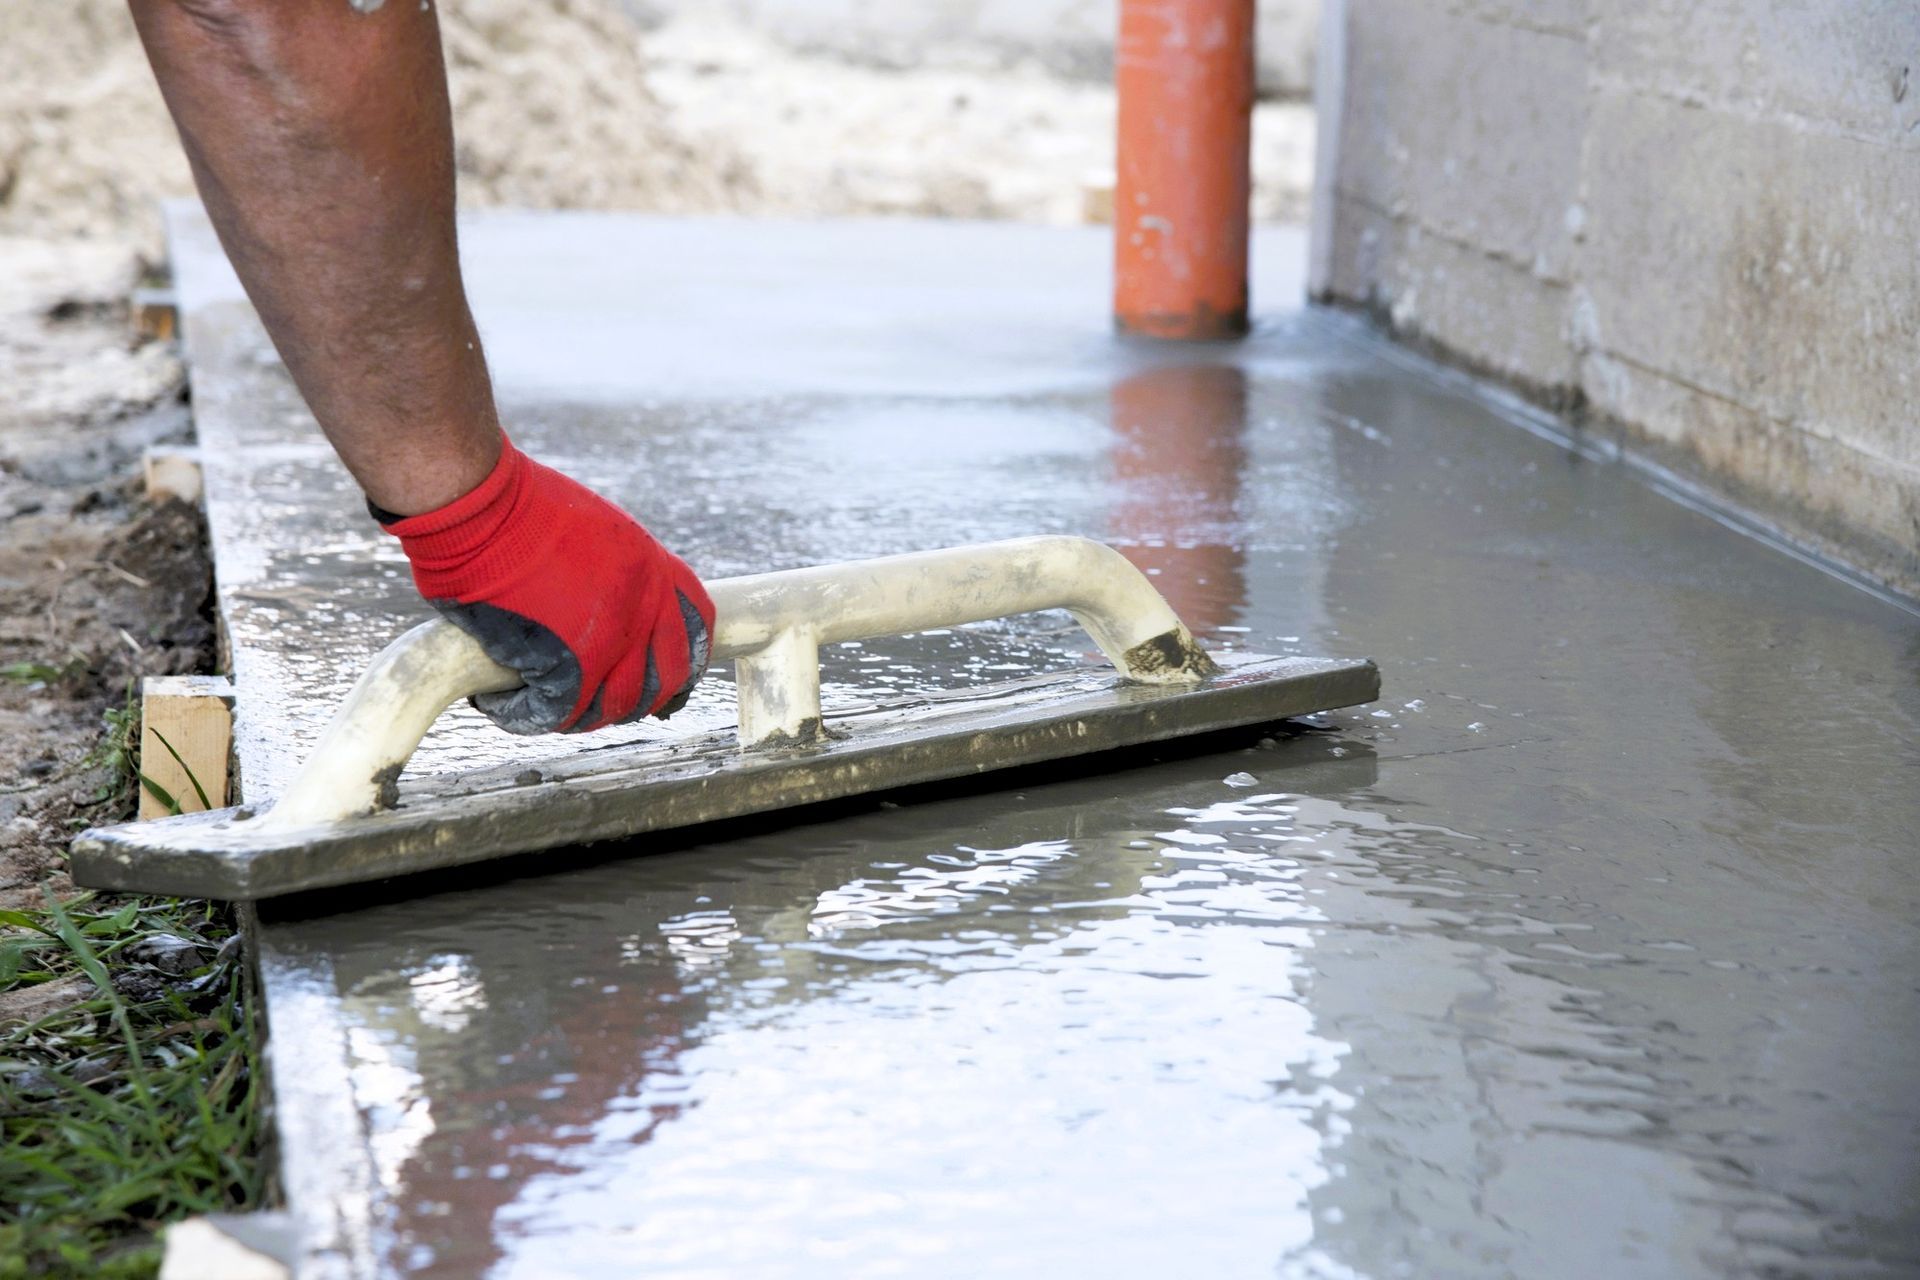
Floating is the process that brings the cement “cream” to the surface and ensures a smooth finish. It is crucial to float the concrete soon after screeding. On large projects, consider having a helper to begin floating while the screeding process is still ongoing. Delay the floating process only if there are water puddles on the surface.
Cutting Control Joints
To control cracks and prevent an unsightly spider web pattern, create control joints. For sidewalks, space joints 5 feet apart or less, while for slabs or driveways, maintain a maximum spacing of 10 feet. Control joints can be plowed in wet concrete or cut with a saw the following day. Ensure the joints are at least one-fourth the depth of the concrete.
Finishing with a Broom
Instead of using a steel trowel, which creates a slippery surface, opt for a broom finish. Broom finishing provides a non-slip texture while concealing imperfections left by floating or troweling. Start the process approximately 15 minutes after floating, and use a push broom or a specialized concrete broom for finer lines.
Slowing the Concrete Curing Time
Water is essential for the chemical process that hardens concrete. To slow down the drying process, cover the concrete with 4-mil plastic sheeting once it’s hard enough that you can’t make an impression with your finger. Ensure the plastic is stretched out, without wrinkles, and seal the edges to retain moisture. Sprinkle additional water if signs of drying occur.
Quick Refresher
Building a better concrete sidewalk requires attention to detail and following expert tips. While this article provides valuable guidance, it’s essential to consider seeking professional help if you lack confidence or experience. Here’s a quick recap to help you remember the following:
- Prioritize strong framework
- Pay attention to curves
- Remove air pockets
- Maintain the right water-to-concrete ratio
- Float and finish the concrete promptly
- Cut control joints
- Properly cure the concrete
The process is essential to ensure a long-lasting and crack-free sidewalk. With these tips in mind, you’ll be on your way to a successful concrete project that enhances your home’s beauty and functionality.
Are you ready to start your very own concrete sidewalk? If you want any guidance or more tips,
call us at Grand Rapids Concrete Pros! We’re more than happy to lend a hand and make your dream concrete sidewalk a reality.


